Saturday, December 28, 2013

Going Red! How I Got My Red Hair!

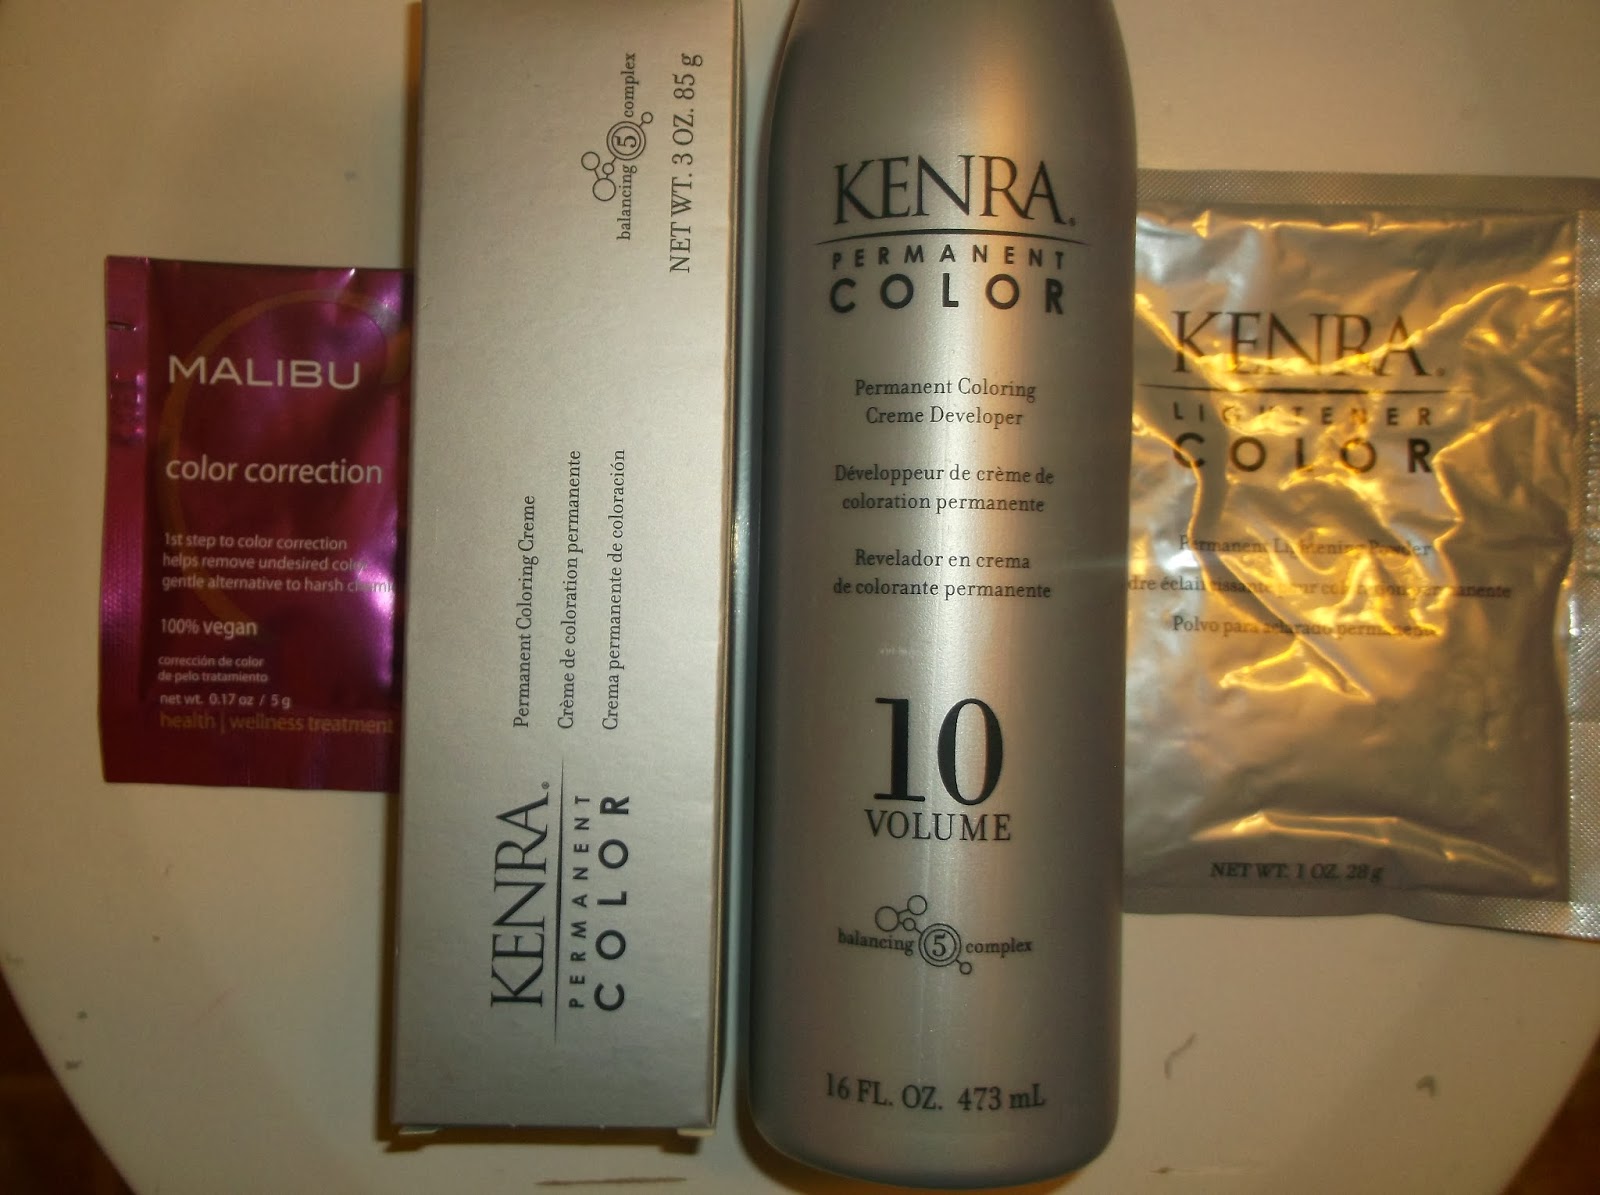
Hi! This was a journey to say the least but it's something I really wanted. It started a few weeks ago. When I made this decision I knew I would need to remove some of the brown from my hair. I started washing my hair with shampoos that weren't for color treated hair and also stepping up on using products for damage and moisture to get my hair in the best shape possible. I did manage to fade my hair quite a bit. Now it got to the time to actually start the coloring process. These are the products I used.
 
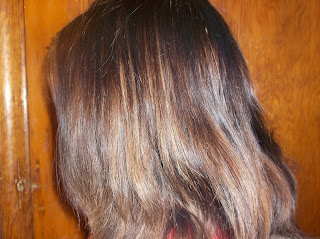
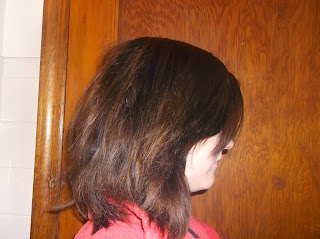
This is how my hair looked after fading it for about a week or two.
 
I started with the Malibu treatment to get out as much color without damage. This is how my hair looked after that.


Then I did a soap cap because I wanted to make sure my hair was light enough.


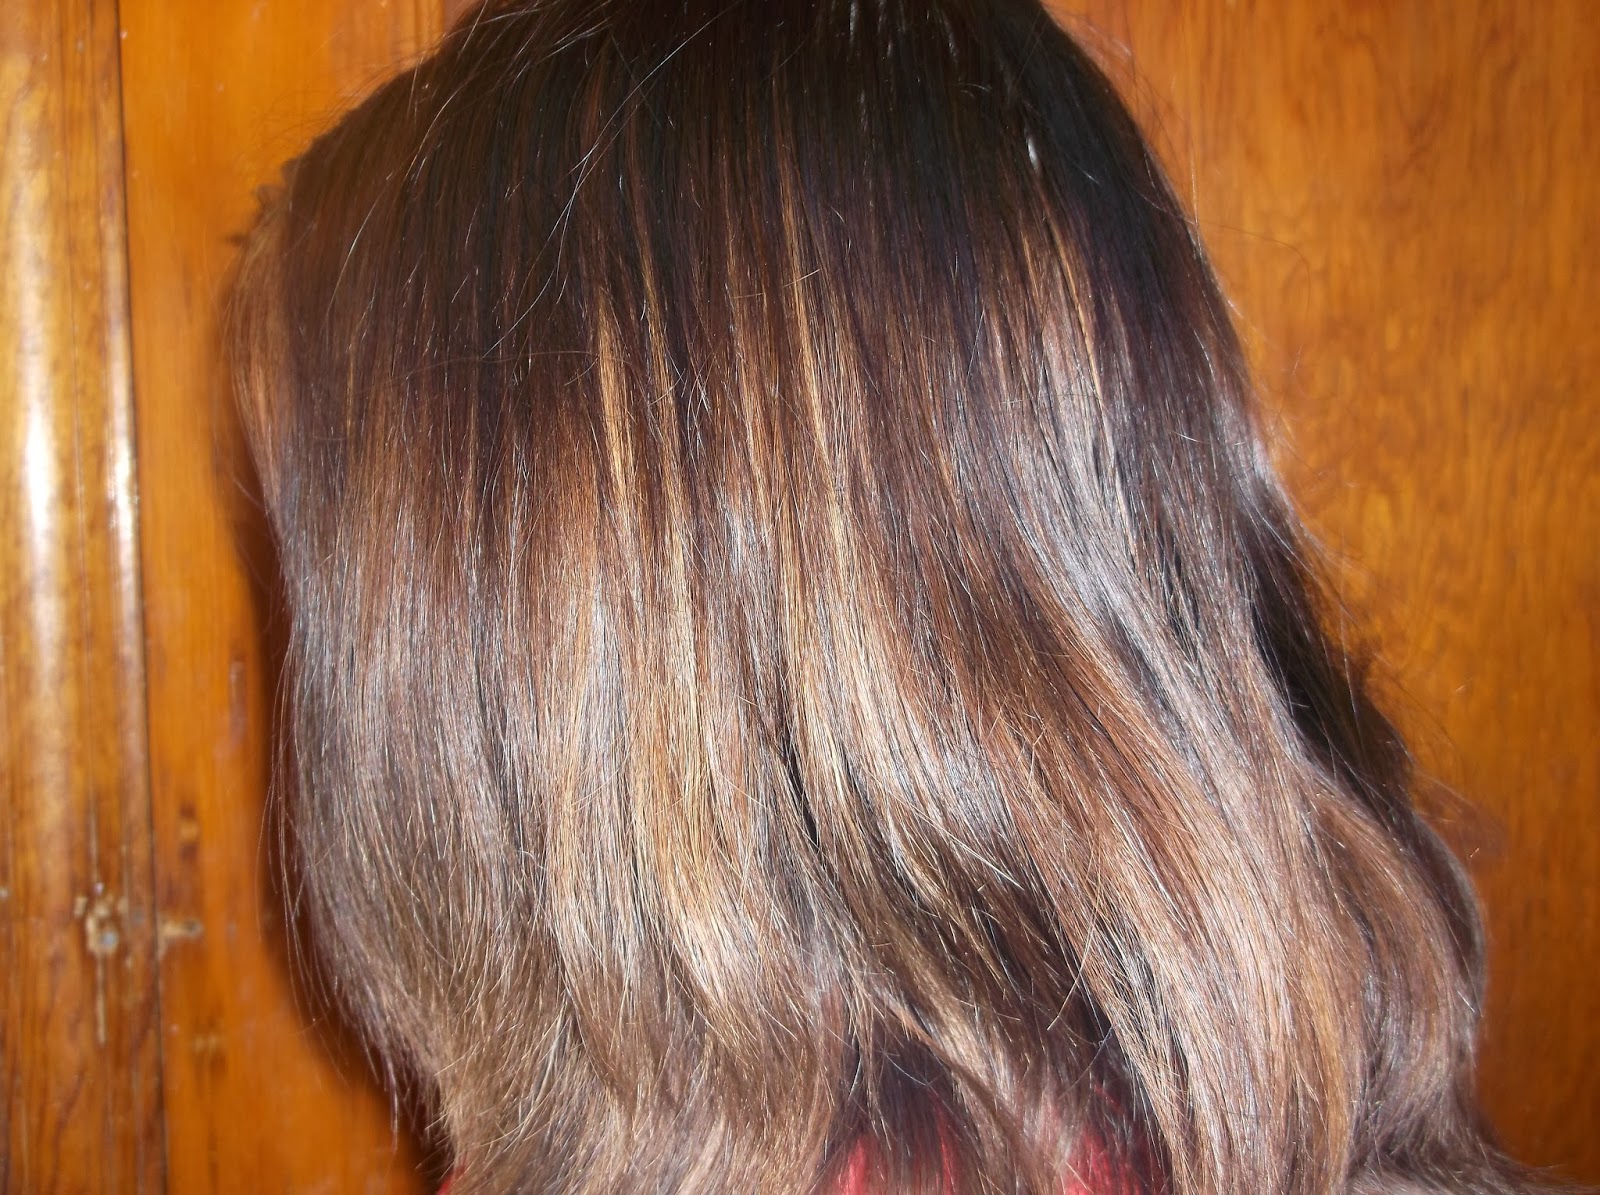
Then I decided to do one more soap cap.


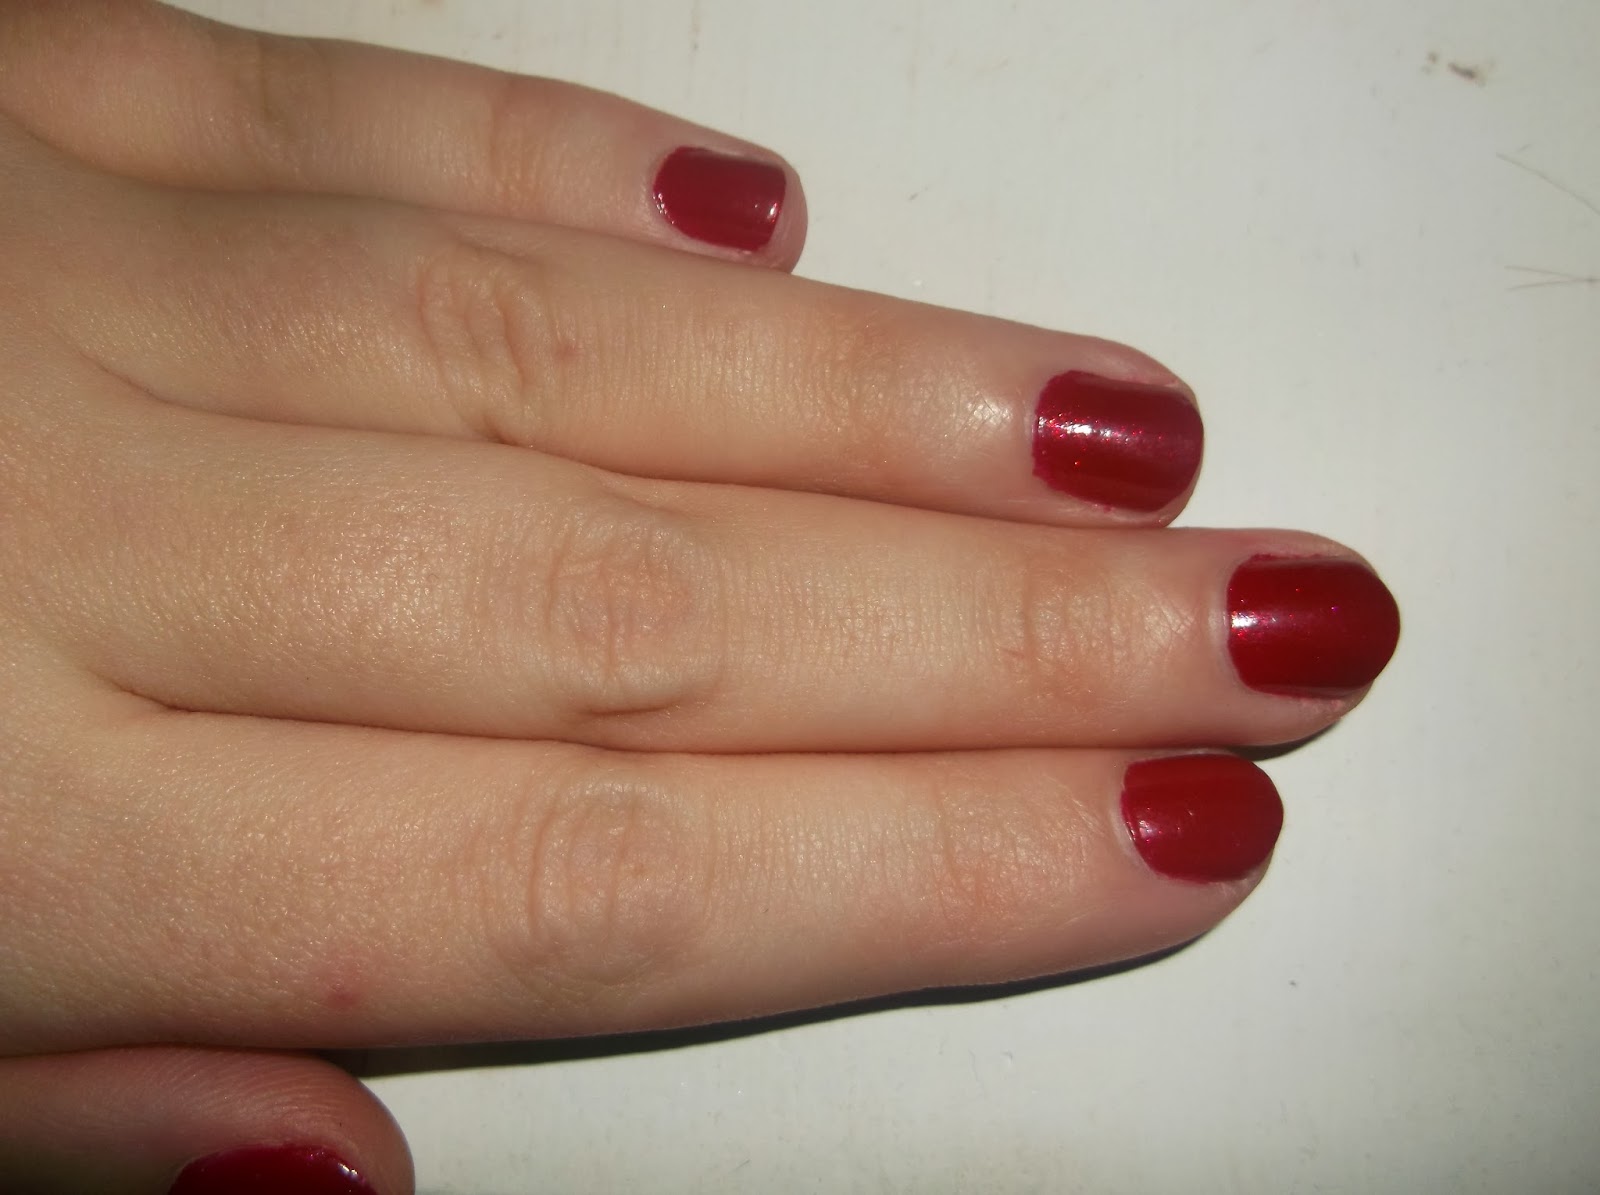
Then I applied Kenra 6RR. I know most people can't get their hands on Kenra so if you can't I would use Ion Color Brilliance. My cousin we used Kenra 6RR on her hair and Ion 4IR on her hair extensions. It was a perfect match so I would recommend that if you want this same color. And this is the end result!

 
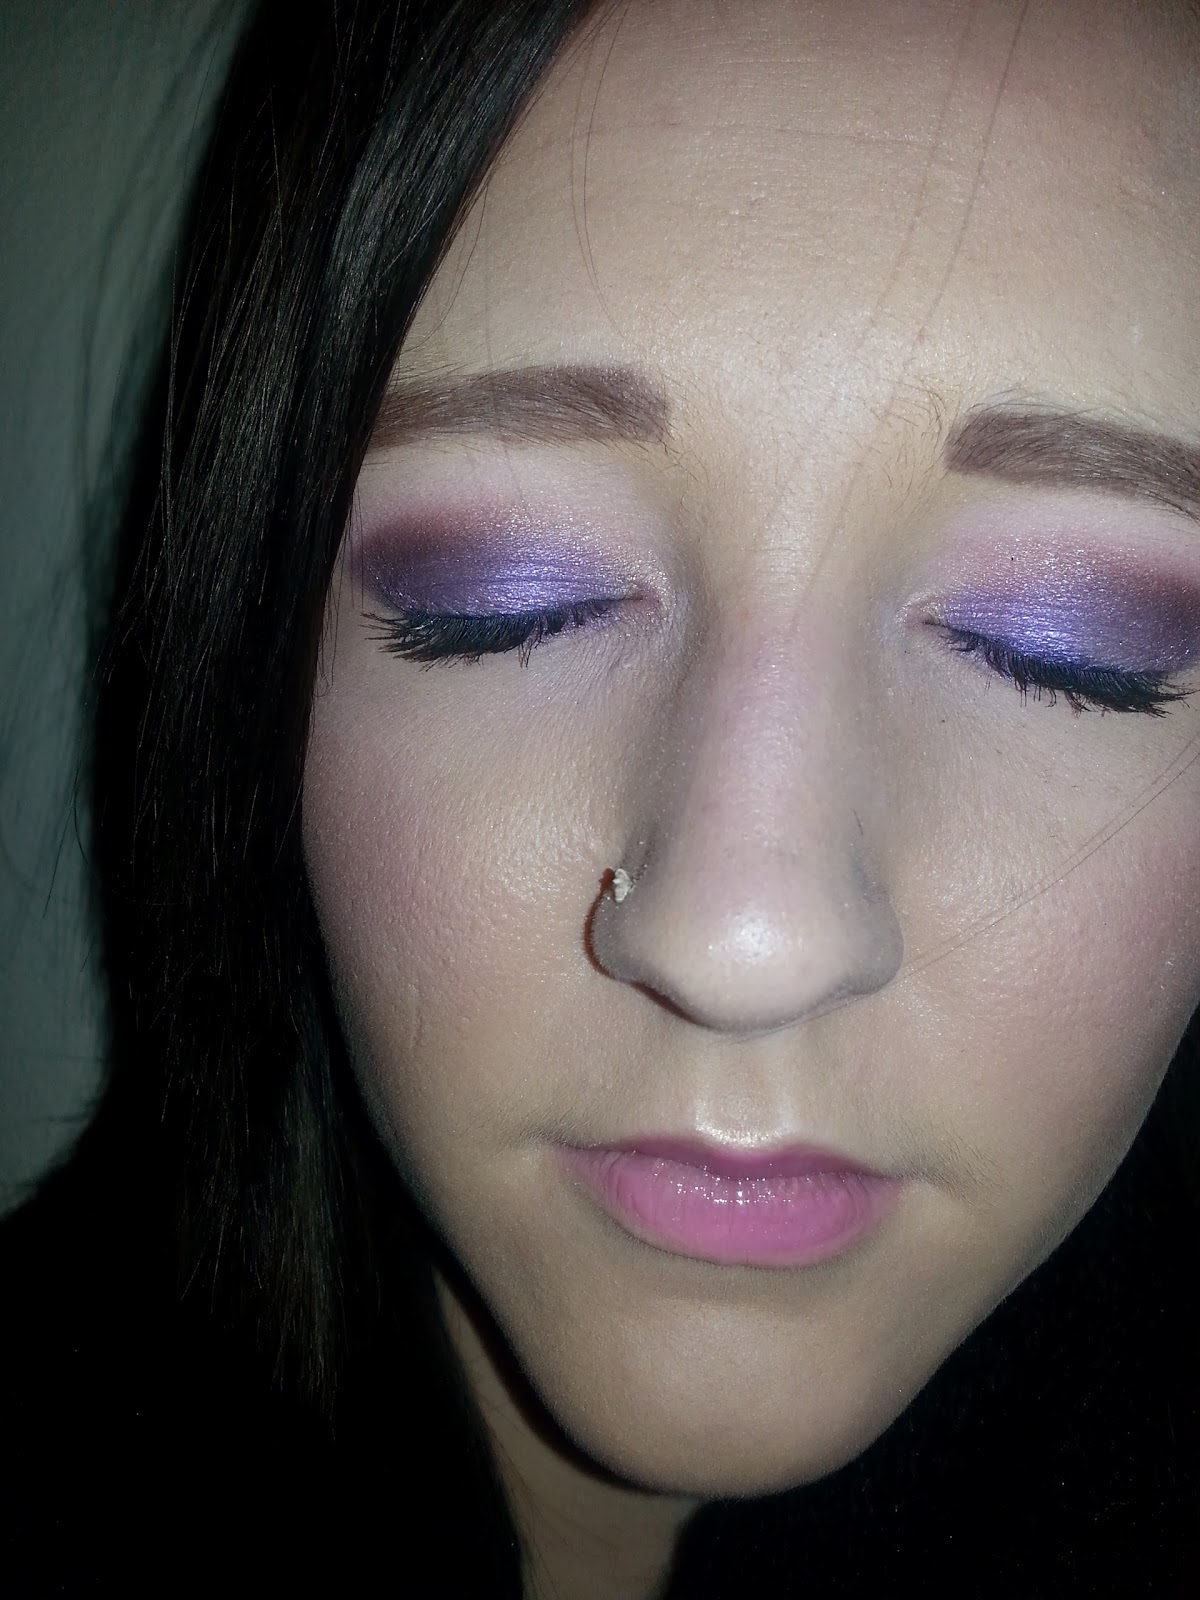
 Its this super pretty red color. I have lots of tutorials and other posts coming up so watch for those soon! Thank you for reading!
-Eat Sleep Makeup
 

Friday, December 27, 2013

Urban Decay Naked 3 FOTD 12/27

Hi! So today I was just playing with my Naked 3 palette and I love this look I came up with.


Foundation Primer: Smashbox Photo Finish Primer
Foundation: CoverGirl 3 in 1 Foundation
Concealer: Maybelline Age Rewind Concealer (the brightening shade)
Eye Primer: Tarte Eye Primer
Eyeshadows: UD Liar, UD Limit, UD Nooner, UD Strange, UD Burnout, and UD Factory
Eye Liner: UD 24/7 Pencil Liner in Demolition
Mascara: Maybelline Lash Stiletto and Smashbox Eye Brightening Mascara
Brows: Rimmel Brow Pencil in Hazel
Blush: Ulta Blush in Flush
Lips: Nivea Lip Butter in Raspberry Rose and Stila Lip Glaze in Harmony
Setting Powder: Bare Mineral Touch Up Veil
 
A lot of these products I'll try to do a review for and they will appear in my Christmas haul. I hope you enjoyed this post and thanks for reading!
-Eat Sleep Makeup


Nails Of The Week 12/22-12/28

Hi! I hope everyone is having a wonderful holiday! I know we certainly did. I got to give everyone wonderful gifts and I received so many wonderful gifts as well. So this week on my nails I wore Nicole by OPI in The Next Ceo. Its a gorgeous gold color. It's not glittery but more shimmery. Here are some pictures with and without flash.


This one is definitely a keeper in my book. It's awesome for the holidays. I think OPI's Glitzerland is a close dupe to this.  I have a few more posts coming up this week. I have my Christmas haul coming up but I still have one more gift card I need to use before that is up. I also have my red hair post probably up tomorrow. Also a UD Naked 3 face of the day and maybe a tutorial later down the road. I probably won't post a New Years tutorial but probably a face of the day. Plus it's already getting close to another Project Pan update. I do have quite a few tutorials planned but I have to find the time to sit down and do them. One last thing I'm going to do the best (and worst) makeup of 2013 and I'm going to try make those videos. We've been staying at families house for the holidays so it's been hard for me to post anything. I hope you guys enjoyed this post and thank you for reading!
-Eat Sleep Makeup

Monday, December 23, 2013

Nails Of The Week 12/15-12/21

Hi! This post is sooo late but I had worked and was snowed in at my moms house for a few days. This is my nails of the week post for last week. The color is from OPI's Burlesque collection that came out a few years ago. The color is called Ali's Big Break. I love it because it's red with my festive glitter in it.  But it's not a pure glitter polish like some so it's a more subtle glitter. I couldn't get a good picture of the glitter but this one is a keeper!


I hope you guys liked this post and I will have one for this week up later this week. Happy Holidays to everyone and thank you for reading!
-Eat Sleep Makeup


Friday, December 20, 2013

UD Vice 2 Holiday Tutorial

Hi! It took awhile but I finally got the inspiration for my second holiday tutorial. My original plan was for one look to be very glowy and sparkly and the second look to have red lips. Then once I finished the first look I liked it with the red lips and I feel like EVERYONE does the neutral eye and red lips for Christmas. So now both tutorials are very glittery and pretty.

I started this off by using my Tarte eye primer and applying Damaged all over my lid.
 
Next I applied a mix of Rewind and Buck (from UD Naked palette) into my crease and really blended it up and out.
 
I applied Poison into my outer v and crease. I also applied it mostly along my lower lashline but once I got closer to my inner corner I applied Damaged.
 
For inner corner highlight I applied Strike and I used Habit as my brow highlight.
 
Next I applied my Urban Decay Liquid liner in Perversion and one coat of my Benefit BadGal mascara. I also applied Perversion pencil in my upper and lower waterline.
 
Next I finished the eyes by applying my other Tarina Taranito Sparklicity Powder in Opal. I believe the one I used in the last tutorial was Pink. This is the finished look. I would recommend applying the glitter before your liquid liner but I forgot.


For the rest of the face I applied my L'Oreal Lumi Foundation and used my Ulta Double Duty concealer under my eyes. I contoured lightly with my Elf bronzer and applied my Tarte blush in Savvy. I highlighted with my Burlesque shimmer and for my lips I used my beloved MAC Hue lipstick. I filled in my brows with my Rimmel brow pencil but I also applied a bit of MAC Sketch to add a red tone. Lastly I set everything with my Bare Mineral Touch Up Veil. ( I also have my Ardell Demi 120 lashes in some of the pictures.)


I hope you guys liked this Christmas tutorial. I'm working on the post on my red hair and my nails of the week so those will be up soon! Thank you for reading!
-Eat Sleep Makeup

Monday, December 16, 2013

Holiday Makeup Tutorial #1

Hi! So this is the first of the two holiday looks I have planned. I LOVE this! It's glowy, sparkly, and festive. Let's go ahead and get started.

First I applied my Tarte eye primer as always. The first shadow I used was UD Naked in my crease.

Next I applied MAC's Retrospeck to most of my lid. I didn't apply it to the outer third.

Then I applied UD Sidecar to the outer 1/3 of my lid and made sure to blend it into Retrospeck.

Next I applied Naked again into my crease and outer v. I also added a very small amount of Darkhorse to darken the outer v just a little. I also applied Naked along my lower lashline. I applied MAC Glamour Light as my brow highlight. I really wanted my inner corner to pop so I used the lightest color from the Revlon Adventurous Quad. It's a light frosty white with like a gold shimmer.

This is where things get very festive and sparkly. I used my Tarina Tarantino Sparklicity Power in . I applied that all over my lid and inner corner.


Lastly I applied my UD Perversion pencil liner and slightly winged it out. I used Benefit They're Real and BadGal Lash mascaras.

For the rest of the face I used my Revlon Colorstay Foundation and MAC Veluxe pencil for my brows. I used Tarte Ambitious blush and contoured with my elf bronzer very lightly. I highlighted with my Burlesque shimmer on the top of my cheekbones. For my lips I used MAC Creme Cup and NYX Butter Gloss in Creme Brulee. You could also do a red lip for this look. I used MAC Russian Red in the last picture.


I  hope you guys liked this look. I wore this for quite a few different events and I think its so perfect for the holidays. I will have a post up about my red hair up soon and also my nails of the week. I work a lot this week and I've had some car issues so I will post as much as I can. I'm going to try to get one more holiday look in before Christmas. So that are my plans for the week that I know of right now. Thank you for reading!
-Eat Sleep Makeup

Tuesday, December 10, 2013

Project Pan FOTD #5 12/10/13

Hi! So for most the day we didn't have internet for some reason. I thought doing a tutorial probably wouldn't be possible so I did a quick face of the day from my phone. Of course now we have internet and my makeup is done -_-


Foundation: L'Oreal Lumi Foundation
Brows: MAC Veluxe Pencil
Eye Primer: Tarte Eye Primer
Eyeshadow: UD Ecstasy, all the shadows from the Burlesque quad except the grey cream shadow, MAC Yogurt, Bare Minerals Sugar Plum, and Burlesque Shimmer
Liner:UD Perversion Pencil Liner
Mascara: Benefit They're Real
Blush: Elf Bronzer and MAC Well Dressed
Highlighter: Burlesque Shimmer
Lips: MAC Angel and Stila Lip Glaze in Harmony
Setting Powder: Bare Mineral Touch Up Veil
 
After this tutorial I'm thinking about keeping Ecstasy because it's so pretty. I wish I could find the words I want to describe it. It's like electric and really grabs your attention. I used 12 products in this tutorial but today I have also used my BBW hand cream, BBW lotion, Bedhead Spray, Aveda Shine Spray, and BBW Cherry Blossom. So counting those it's a total of 17. Definitely not the most products I've ever used but still a good amount. I hope you guys liked this post. I'm not sure what tomorrow will be but hopefully a tutorial. Also Thursday should be about me dyeing my hair. I haven't picked up the stuff yet but I will be tomorrow so I should do it tomorrow night or Thursday. But I'm going red! So watch for that! Also a few other things I'm ordering the Sigma Enlight palette later this week. I will be getting the Naked 3 palette but it will probably be after Christmas. So I will have tutorials for the Enlight palette and the Naked 3 palette eventually. Also I have at least two holiday tutorials planned hopefully they will be up very soon. Thank you for reading(:
-Eat Sleep Makeup