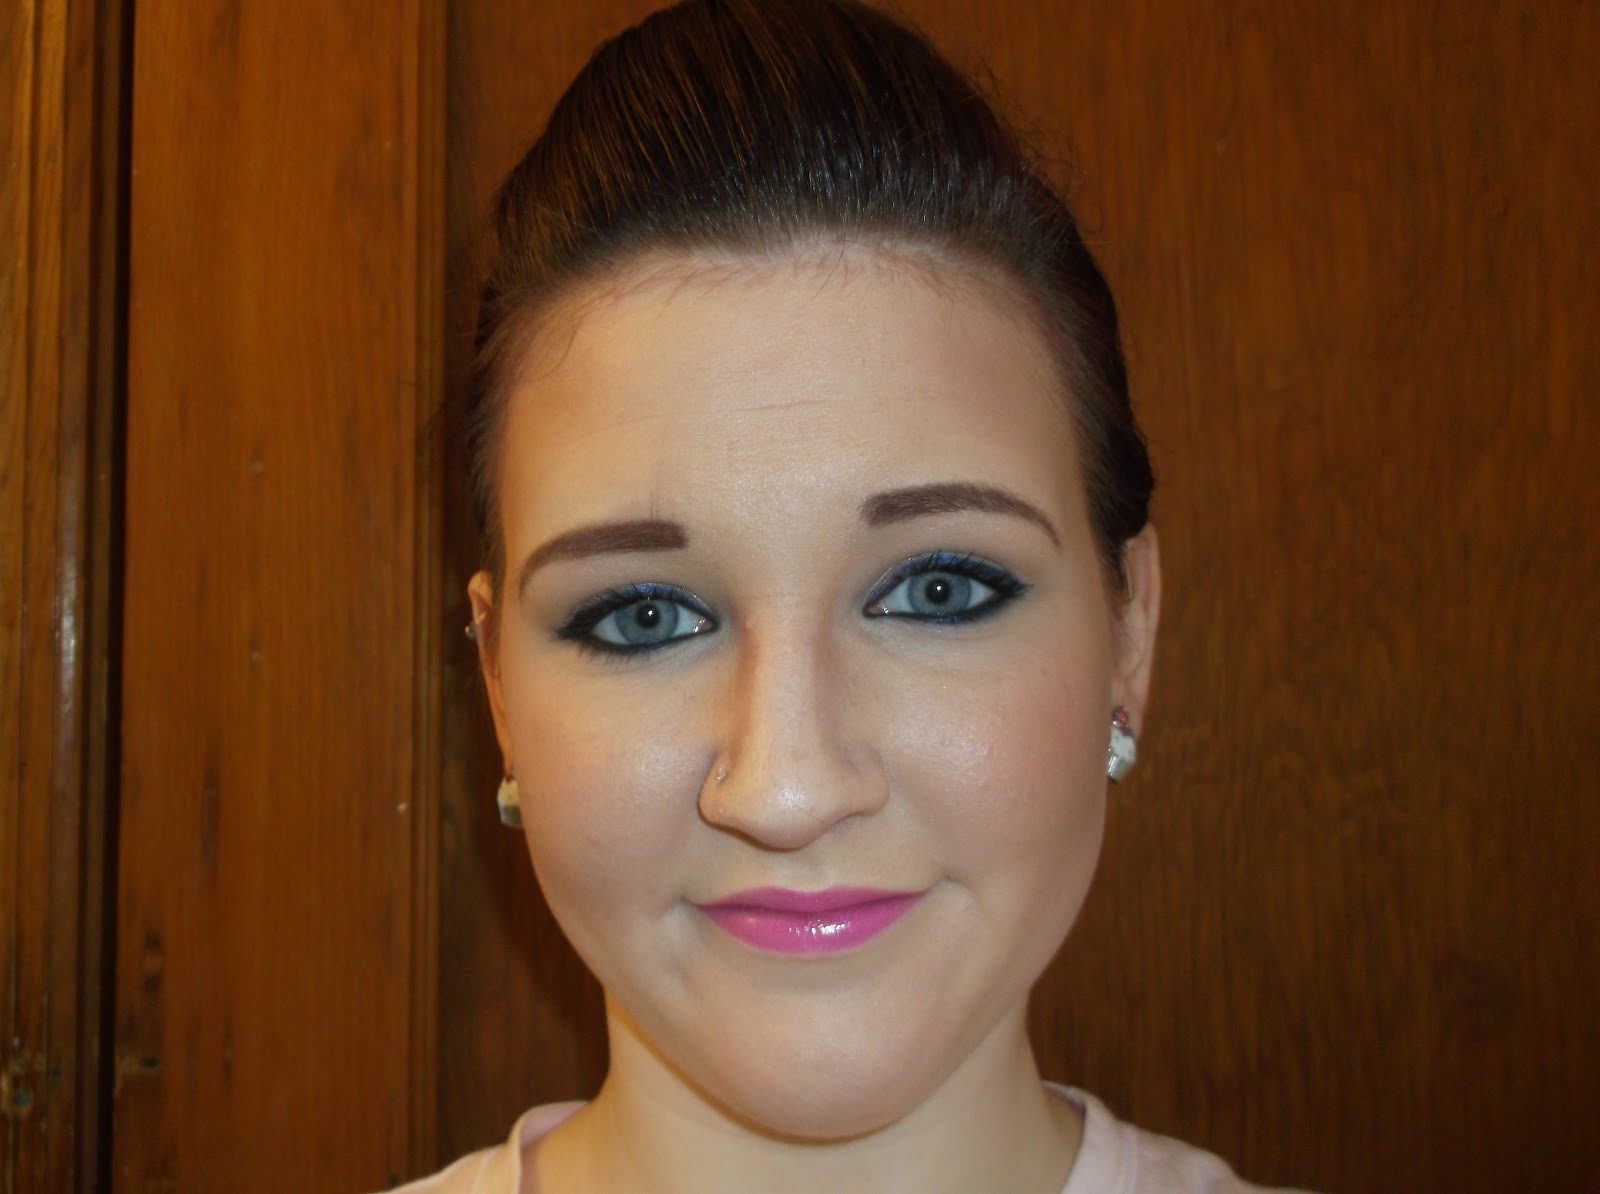
Sunday, March 17, 2013

Coloring My Hair and Malibu Color Correction

Hi! Today I'm coloring my hair and I'm hoping I'll leave it this way for about 2 months at least. This is what I have:
 
-Paul Mitchell Permanent Color in 4N
-Paul Mitchell Permanent Color in 3N
-Malibu Color Correction Packet
 
Here is what I started with:


Please excuse my greasy hair. Then I got in the shower and followed the directions on the back of the Malibu treatment. I shampooed my hair then applied the crystals. I let them sit for 5 minutes and shampooed and rinsed again. NO conditioner! And here is the results from that.


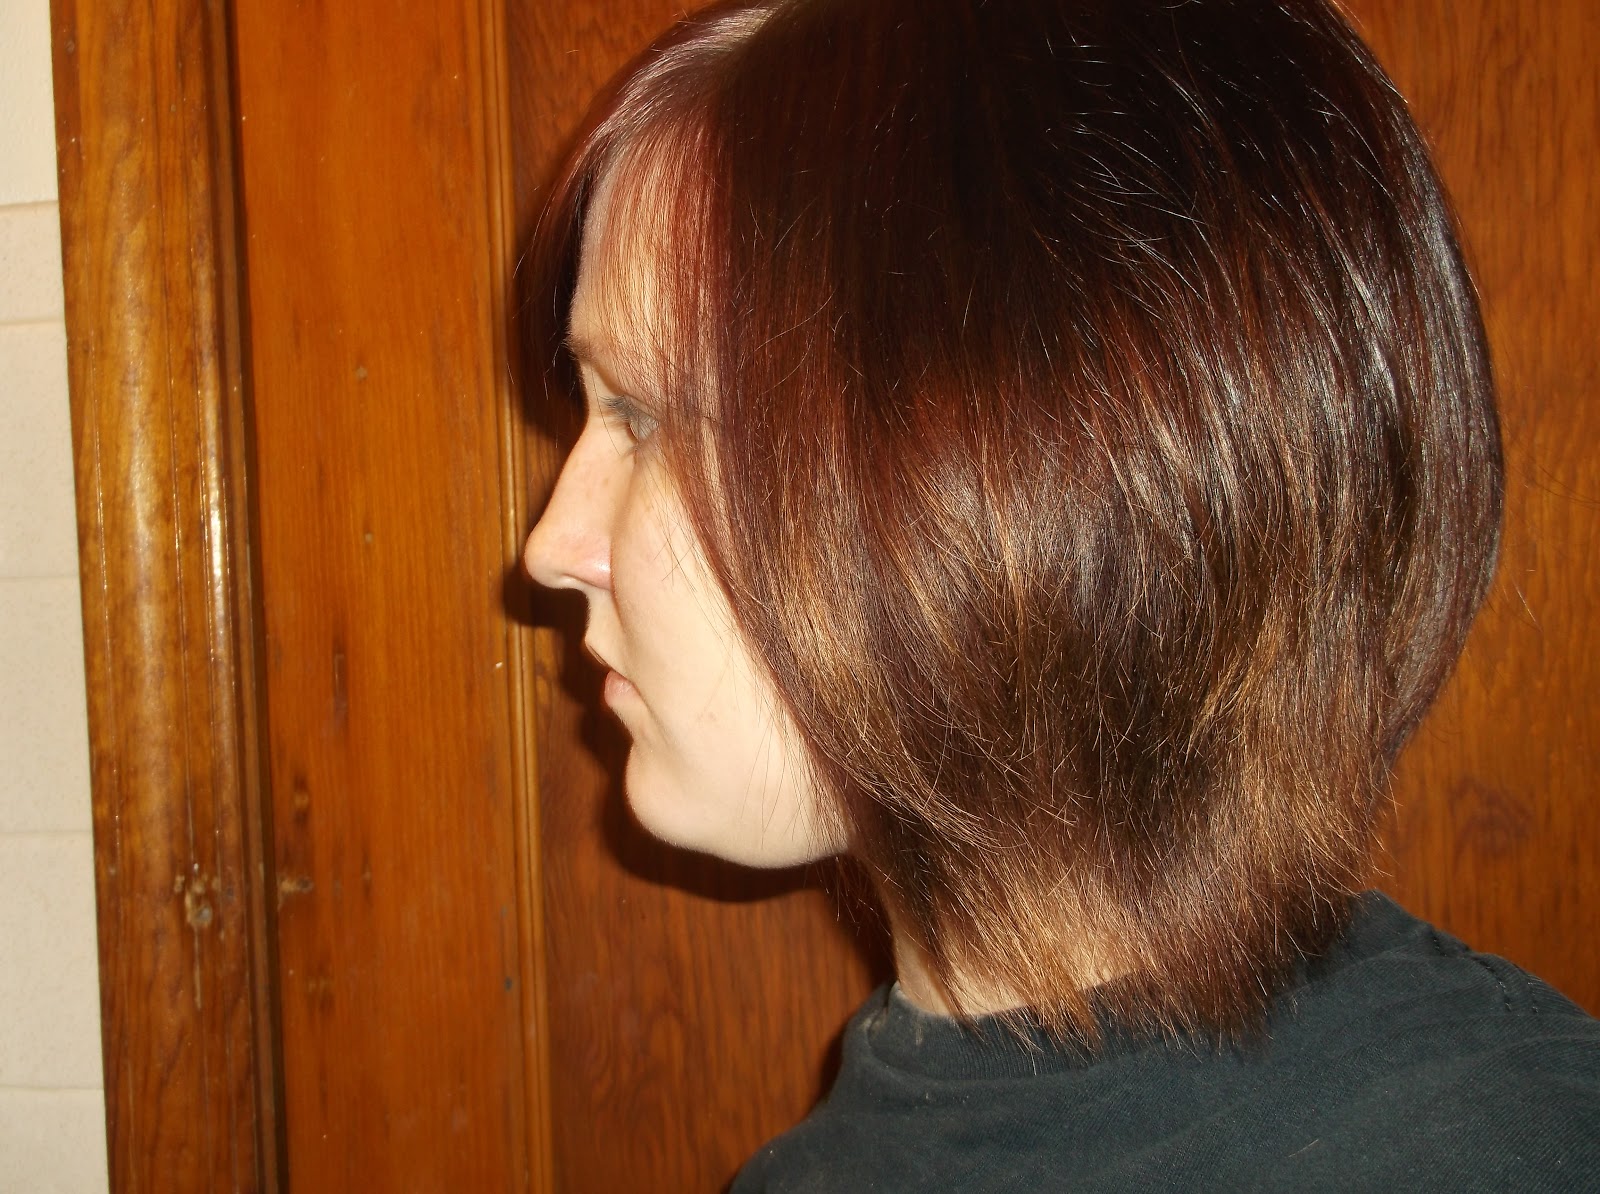
 
As you can see it definitely removed some color. I just wanted to lighten it up some and get rid of as much red as possible. I definitely noticed a difference. I think this product would be good if your color comes out too dark or you are trying to go blonde and want to get as much color out as possible. I haven't used these before but I'm curious if they would continue to remove color if you did again like the next day or something. They also say they are 100% vegan.
 
Now onto the color! I love having my hair neutral because it looks great with pretty much anything. So for my formula I mixed 2oz.4N+2oz.3N+4oz of 5vol developer and it was all Paul Mitchell. And this is the finished result.


I really like it. My eyes stand out more I think. Now if my hair was just longer....
 
I hope you guys enjoyed this post. Things are going to be soooo busy these next 2-3 weeks. I start my new job April 2nd and I have a bunch of stuff to take care of in the mean time. I'm going to post as much as I can in the next 2 weeks and hopefully I'll find time when I start working to still post stuff. Thanks for reading!(:


Tuesday, March 12, 2013

Versatile Smokey Eye

Hi! It was hard to figure out a name for this tutorial but it uses one of my favorite eyeshadows which is Haight by Urban Decay. As much as I love this look the reason it is versatile is because you can replace Haight with any color you want. So on to the tutorial!
 
First I applied my L'Oreal Lumi Foundation (that's right no MAC foundation mixed in). Then I applied a mix of Urban Decay Naked and Buck into my crease.
 
Next I applied Urban Decay Haight on to the lid.
 
Next I applied Urban Decay's Asphalt into the crease. I also applied a bit of a matte grey from my Coastal Scents palette. I think Asphalt is too shimmery so mixing it with the matte tones it down a little.
 
This last step requires some serious blending. I applied Urban Decay's Blackout but really any matte black is fine. I applied this to the outer v and blending this into the crease. I also blended into the Haight on the outer 1/3 of my lid. It creates more of a gradient.
 
Then I applied Urban Decay Perversion pencil eyeliner to my upper waterline and lashline. I also slightly winged it out. Then I applied more Blackout on top of the winged out Perversion. It made it even more pigmented.
 
On my lower lashline I applied Blackout to the outer 1/3 and then Asphalt the rest of my lashline.
 
Lastly I applied a matte highlight color under my brows and a shimmery highlight color to the inner corner. I filled in my brows with my MAC Veluxe brow pencil and put on two coats of my Sephora Atomic Volume mascara. And the eyes are done!

 
On to the rest of the face(: I applied my Elf blush and bronzer duo to my cheeks and I contoured a little bit. Lastly I applied MAC's Creme Cup lipstick.


And that's it! It's pretty easy and you can do it with really any color you want. Also please ignore my hair in this tutorial. It's starting to feel really grown out and this was a bad hair day lol. Anyways I hope you guys enjoyed this tutorial and I'm not sure what I'll be posting next. Thank you for reading!(:


Sephora Atomic Volume Mascara Review

Hi! Today I'm doing a review on my Sephora Atomic Volume Mascara. This is how it looks:


The packaging is pretty simple which is fine. I actually don't really like mascara's having these bright colored tubes so I do like the simple black. As you can see it gets bigger towards the end which I'm hoping means more product but I'll see when I get closer to using it up completely. So I'm going to start with the cons because it will make it easier to explain the pros. First thing this mascara is not waterproof which is usually fine with me. However we went out to dinner and my baby cousin was cracking us up and I started to tear up. Then I started to cry more because if the mascara gets in your eye it STINGS! Eventually it was ok and it still looked like I had some mascara on. Also the wand for this is super pokey. It's not soft at all. It can make it hard to get right down to the lash line. You can but you have to be careful. The next con would be it can be super clumpy! The first time I applied this mascara I hated it. It was clump city and I couldn't fix it no matter what I tried! But I realized if you are very careful about the amount of product on the wand you can get voluminous lashes. On to the pros it is a nice mascara to layer over a lengthening mascara. Also like I said if you are careful about not having too much product on the wand you get nice defined voluminous lashes. It was only $5 which isn't too bad. But this is where the pros stop. It all comes down to would I buy this mascara again? No probably not. It's not a horrible mascara but there are better drugstore mascaras. It's not good from when you are in a hurry because you have to be careful so your lashes don't get clumpy. Also I was slightly worried about how it irritated my eyes and I would rather get a mascara I know won't bother my eyes. Anyways I'm hoping to have a tutorial up later today but it I may post it tomorrow. Thank you for reading!(:

Wednesday, March 6, 2013

FOTD: Job Interview

Hi! I didn't think I would be posting anything for awhile but I have more time today then I thought. I just curled my hair under with my flat iron. It gave me a lot of volume and it was easy to make it look more messy but cute. Here are some pictures of my hair and makeup from today.


 Primers: Tarte Poreless Primer and Tarte Creaseless Eye Primer
Foundation: MAC Studio Sculpt in NC 15 with L'Oreal Lumi Foundation in N3
Blush: Elf Brush and Bronzer Duo
Eyeshadows: Naked 2 Palette- Bootycall, Foxy, Tease, Busted, and Blackout
Eyeliner: Urban Decay 24/7 Liquid Liner and Urban Decay 24/7 Pencil Liner in Perversion (both are in Perversion)
Brow Pencil: MAC Veluxe Pencil in Deep Brunette
Mascara: Diorshow Iconic Overcurl Mascara
Lipstick: MAC Lipstick in Syrup

Then I finished with my Elf  High Definition Powder and Urban Decay All Nighter Setting Spray. The tutorial for this eye look is below. The only thing I did different was I applied Bootycall to my lid and Foxy as my highlight. I went with the more smokey look. I really wish I had that Maybelline Color Whisper. I'm thinking about buying a few for myself and some for my cousins birthday present. Anyways check out the video below! She is my absolute favorite youtube beauty guru!(: So maybe subscribe to her channel.

 
Thank you for reading!(:
 

Tuesday, March 5, 2013

Rihanna Inspired Tutorial/L'Oreal Infallible Tutorial

Hi! Today's tutorial is inspired by this picture:
The eye makeup is pretty simple except the blue slightly winged eyeliner and I love the bold lips. This tutorial also uses L'Oreal Infallible Eyeshadow in Midnight Blue. I know I look nothing like Rihanna and the makeup isn't exact that is why it says inspired by. Well on to the tutorial!

First I apply my MAC foundation in NC15 and a little bit of my L'Oreal Lumi Foundation. Next I took a fluffy brush and lightly dusted a mix of MAC's Glamour Light and Retrospeck on my lid. Just use a color close to your skintone that makes your lid look nice.
 
Then I applied Urban Decay's Naked into my crease.
 
Some of you may know this next trick and some of you may not but I applied tape like below in the picture. Then I applied Urban Decay's 24/7 Binge Eye Pencil and winged it out. The tape helps wing it out and get a precise line.
 
I took off the tape and applied L'Oreal Infallible Eyeshadow in Midnight Blue over the Binge eyeliner. It comes out way more pigmented even though it is already super pigmented.
 
Now I had to do some more research for this part but Rihanna actually has like a black eyeliner on the lower lashline/waterline. So I applied Urban Decay's 24/7 Pencil in Perversion to my upper waterline and my lower waterline and lashline. I took a small amount of the Midnight Blue and smudged out Perversion. It became sort of a blackened blue that was super pretty.
 
For the rest of the eye makeup I applied MAC's Naked Lunch as a brown bone highlight. Then I applied 2 coats of my Sephora Atomic Volume Mascara and my MAC Veluxe Brow Pencil in Deep Brunette. And the eye makeup is done.
 
For the rest of my face I contoured with my Elf Bronzer and Blush Duo. I also applied the blush from the set as well. For the lips I applied NYX Black Label Lipstick in Hot Pink. I got this a year ago and I love it! One of the Maybelline Vivids I think would be a good lipstick for this look. And we're finished!


So I hope you guys enjoyed this tutorial. I have one more tutorial coming up with the L'Oreal Infallible eyeshadow. I'm planning on getting a few more eyeshadows later this month. Right now I don't have a lot planned for what I'm going to post this month. I know I would like to do a beginner makeup kit post. I'm giving my cousin a bunch of makeup for her birthday later this month and she doesn't have much right now. That's why I think it would be good to use it as a what to get someone who is starting out in makeup post or even for yourself if you are starting out in makeup. Anyways I have an important interview this week and I'll be in Chicago this weekend so I'm not sure if I will post anymore this week. I'm hoping I can sneak in a few quick posts for you guys. I may do a post on Monday on why and what I was doing in Chicago. Well thank you for reading and I hope you have a great day!
P.S. I always get asked but my cupcake earrings are from Tillys.com. I bought them about a year ago so I'm not sure if they have them anymore.

Sunday, March 3, 2013

Joico K-Pak Damage Reconstruct Shampoo and Condioner Review

Hi! I'm finally getting around to writing this review! I bought this Joico Shampoo and Conditioner set for about $5 around Christmas time. This is what the set looks like:
 It also came with a mini mask that I really liked. Overall I like the packaging. There isn't really anything to special about it but they fit nicely in our shower. On to the actual shampoo and conditioner. It smells amazing! It says it can be used as a daily shampoo and conditioner which I was slightly hesitate about. But I have to agree. It makes my hair feel super soft and amazing. It fixes any damage you may have and leaves your hair feeling strong. This is the only time I can honestly say my hair has felt strong. It doesn't leave my hair feeling weighed down or dry. I think besides the porous parts of my hair, this is probably the healthiest my hair has ever been (well since I've been coloring and styling it). Even the porous parts of hair feel good, they just don't look good. I would highly recommend this set if your hair is extreme damaged especially from chemical services. I'm going to be saving mine since I'm going to be going blonde. The mini mask that came with was pretty nice. However I know it was suppose to be mositurizing too and I felt like it was more for damage. In the end I would definitely buy this set again. It was $5 and it fixed any damage in my hair. It's super nice and I'm sure I'll get it again in the future. I hope you enjoyed this review. Thank you for reading!

Saturday, March 2, 2013

Some Hair Ideas(:

Hi! I'm already super bored with my hair and let's just say pinterest is not helping! I'm bored of my hair literally every week and I think it's mostly because I've had a bob for a year and half. So I think the cut is making me feel bored all the time. I feel like there isn't much I can do with it style wise. It's not long enough to do the top knot or a fishtail braid. I have curled my hair and it looks cute but it's too much work with short hair. Also sometimes it comes out cute and other times it just doesn't turn out. So anyways since there isn't much I can do about the cut until it grows out more I'm left to play with the color. So here is some ideas I've been playing around with. I can't decide between blonde or very dark brown. ( I do not own any of these pictures and I am not in any of these pictures.)
 
 Option #1- Some combination of blonde on top and either brown or a darker blonde underneath with some lowlights through the top


Option#2- Really dark brown on it's own or add some streaks of a fun color (teal?)


Option#3-  All blonde


Option #4- Brown with highlights
 
 
I'm also trying to decide if I want to change my bangs to something like this when my hair gets longer.


 It's hard because I like them for different reasons. The blonde with the brown underneath is kind of the best of both worlds. The dark brown I feel is more edgy. The all over blonde I've always really loved. I also like the brown with highlights that I've had in the past. There are also some other factors I think about when deciding. My natural color is blonde and so are my eyebrows so it's nice having blonde hair that matchs my eyebrows. It's easier to tease my hair when it is darker because it blends better and is less noticeable for some reason. My hair is porous on some of my ends and any dark color I put on fades within a few washes and has this ugly gold tone (you can see what looks like highlights in my last hair update and that would be the super porous part). The blonde is nice when my hair is porous because there is no color but being blonde usually makes my hair even more porous so it's hard to go back (that little bit that is super porous is the very ends of when I was blonde last time). Right now I have a plan where I can have these each one at a time except one. If I want to go blonde I'm going to have to do it gradually anyways so I would probably use some color remover( I want to get rid of some of this red also I dyed my hair a demi 3v/r so I need to lighten it a little) and then dye my hair a neutral brown. Usually I do a level 4 or 5.  Then I wait about 2-6 weeks and get highlights like option#4. Usually after I do this I wait 2 months before I do any kind of color service to my hair ( which would be good for my hair to have a break). The brown starts to fade more and more over the 2 months and again gives my hair a break. Then I usually get more highlights and at this point I am mostly blonde. I wait another month and either bleach out what is left of the brown or the brown has faded a lot at that point and I can use 2 or 3 different shades of blonde and get a pretty dimensional blonde (like option#3). When I get bored of the blonde I can color the underneath and add lowlights(like option#1).  Option#2 is the only one I don't have a plan for but at the same time I don't really want to dye my hair till it is longer. So maybe when I get bored of the blonde and brown underneath I can go really dark. I think that's my plan for now lol. It's just really hard for me to decide what color I want. Anyways I plan on sharing the process with you guys if I can(: Thank you for reading!